
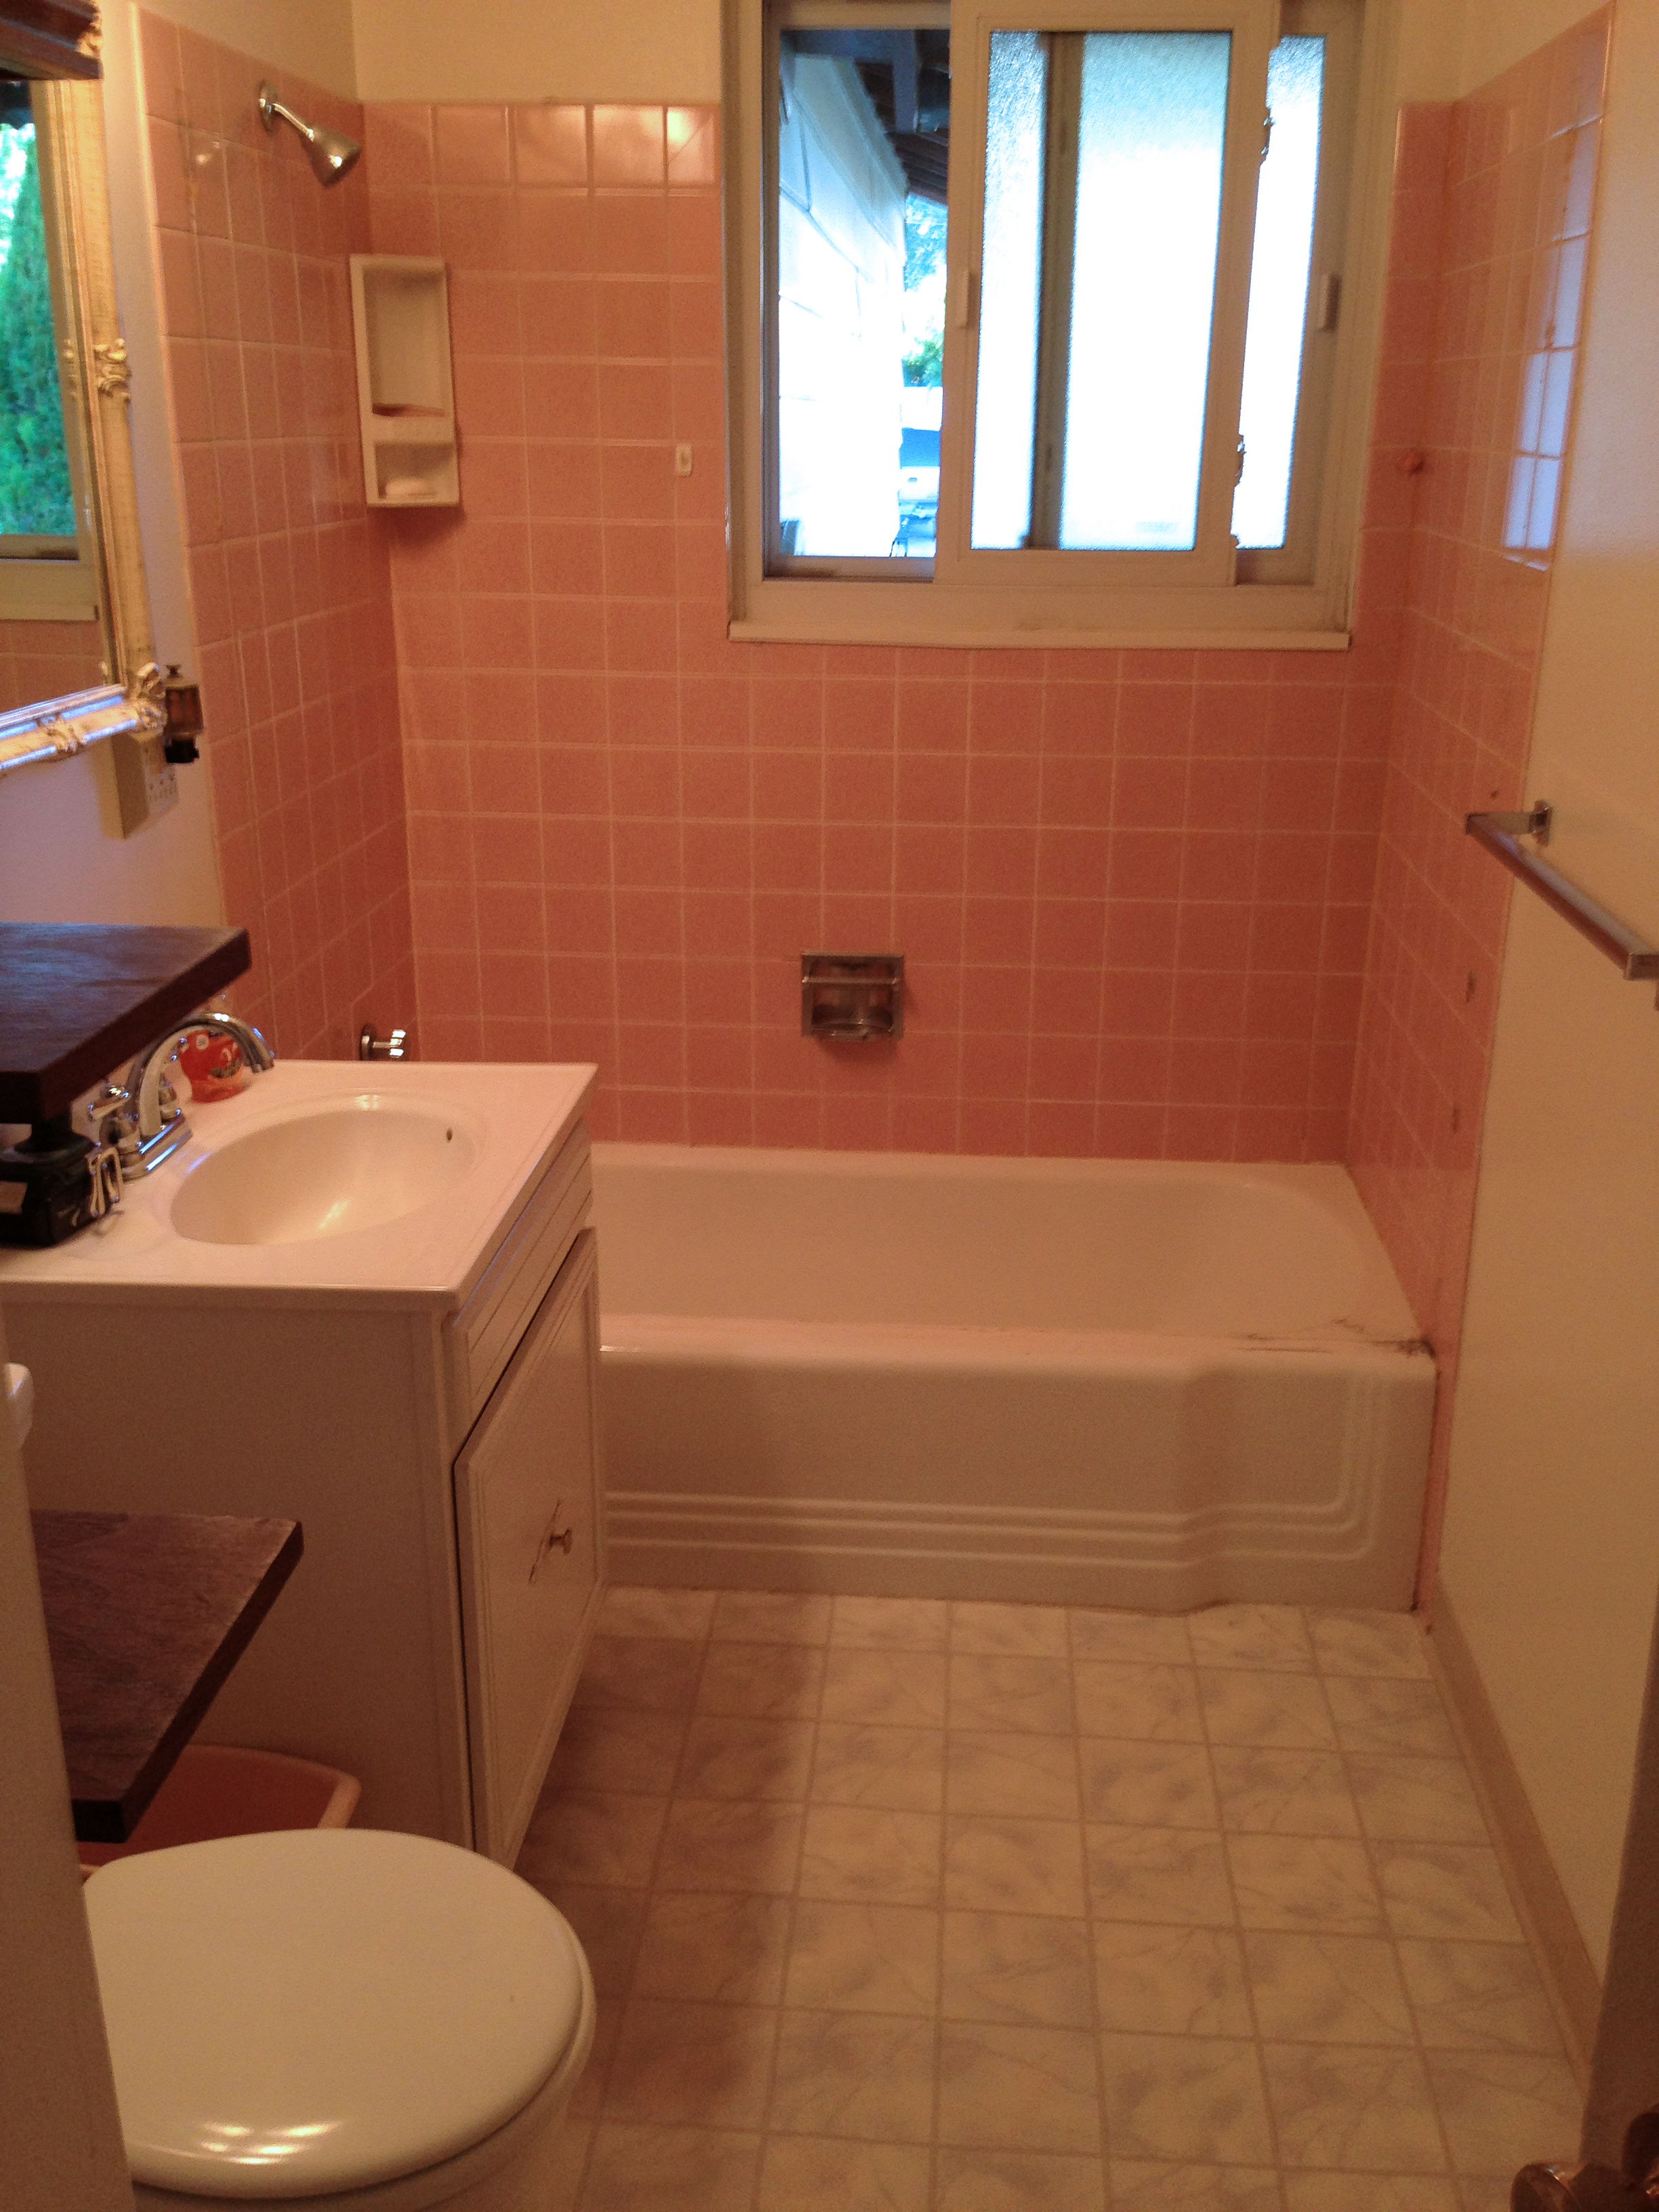
In the six months (!!) that we’ve been in our new home, there have been many projects we’ve completed, but few have felt so necessary as getting our master bathroom in order. It is by no means finished, we have many steps until we are truly satisfied, but for now, we have eliminated (most) of the icky cruddiness leftover from the previous owner…
Step 1: Remove shower doors.
This was literally the very first thing we did upon receiving keys to the house.
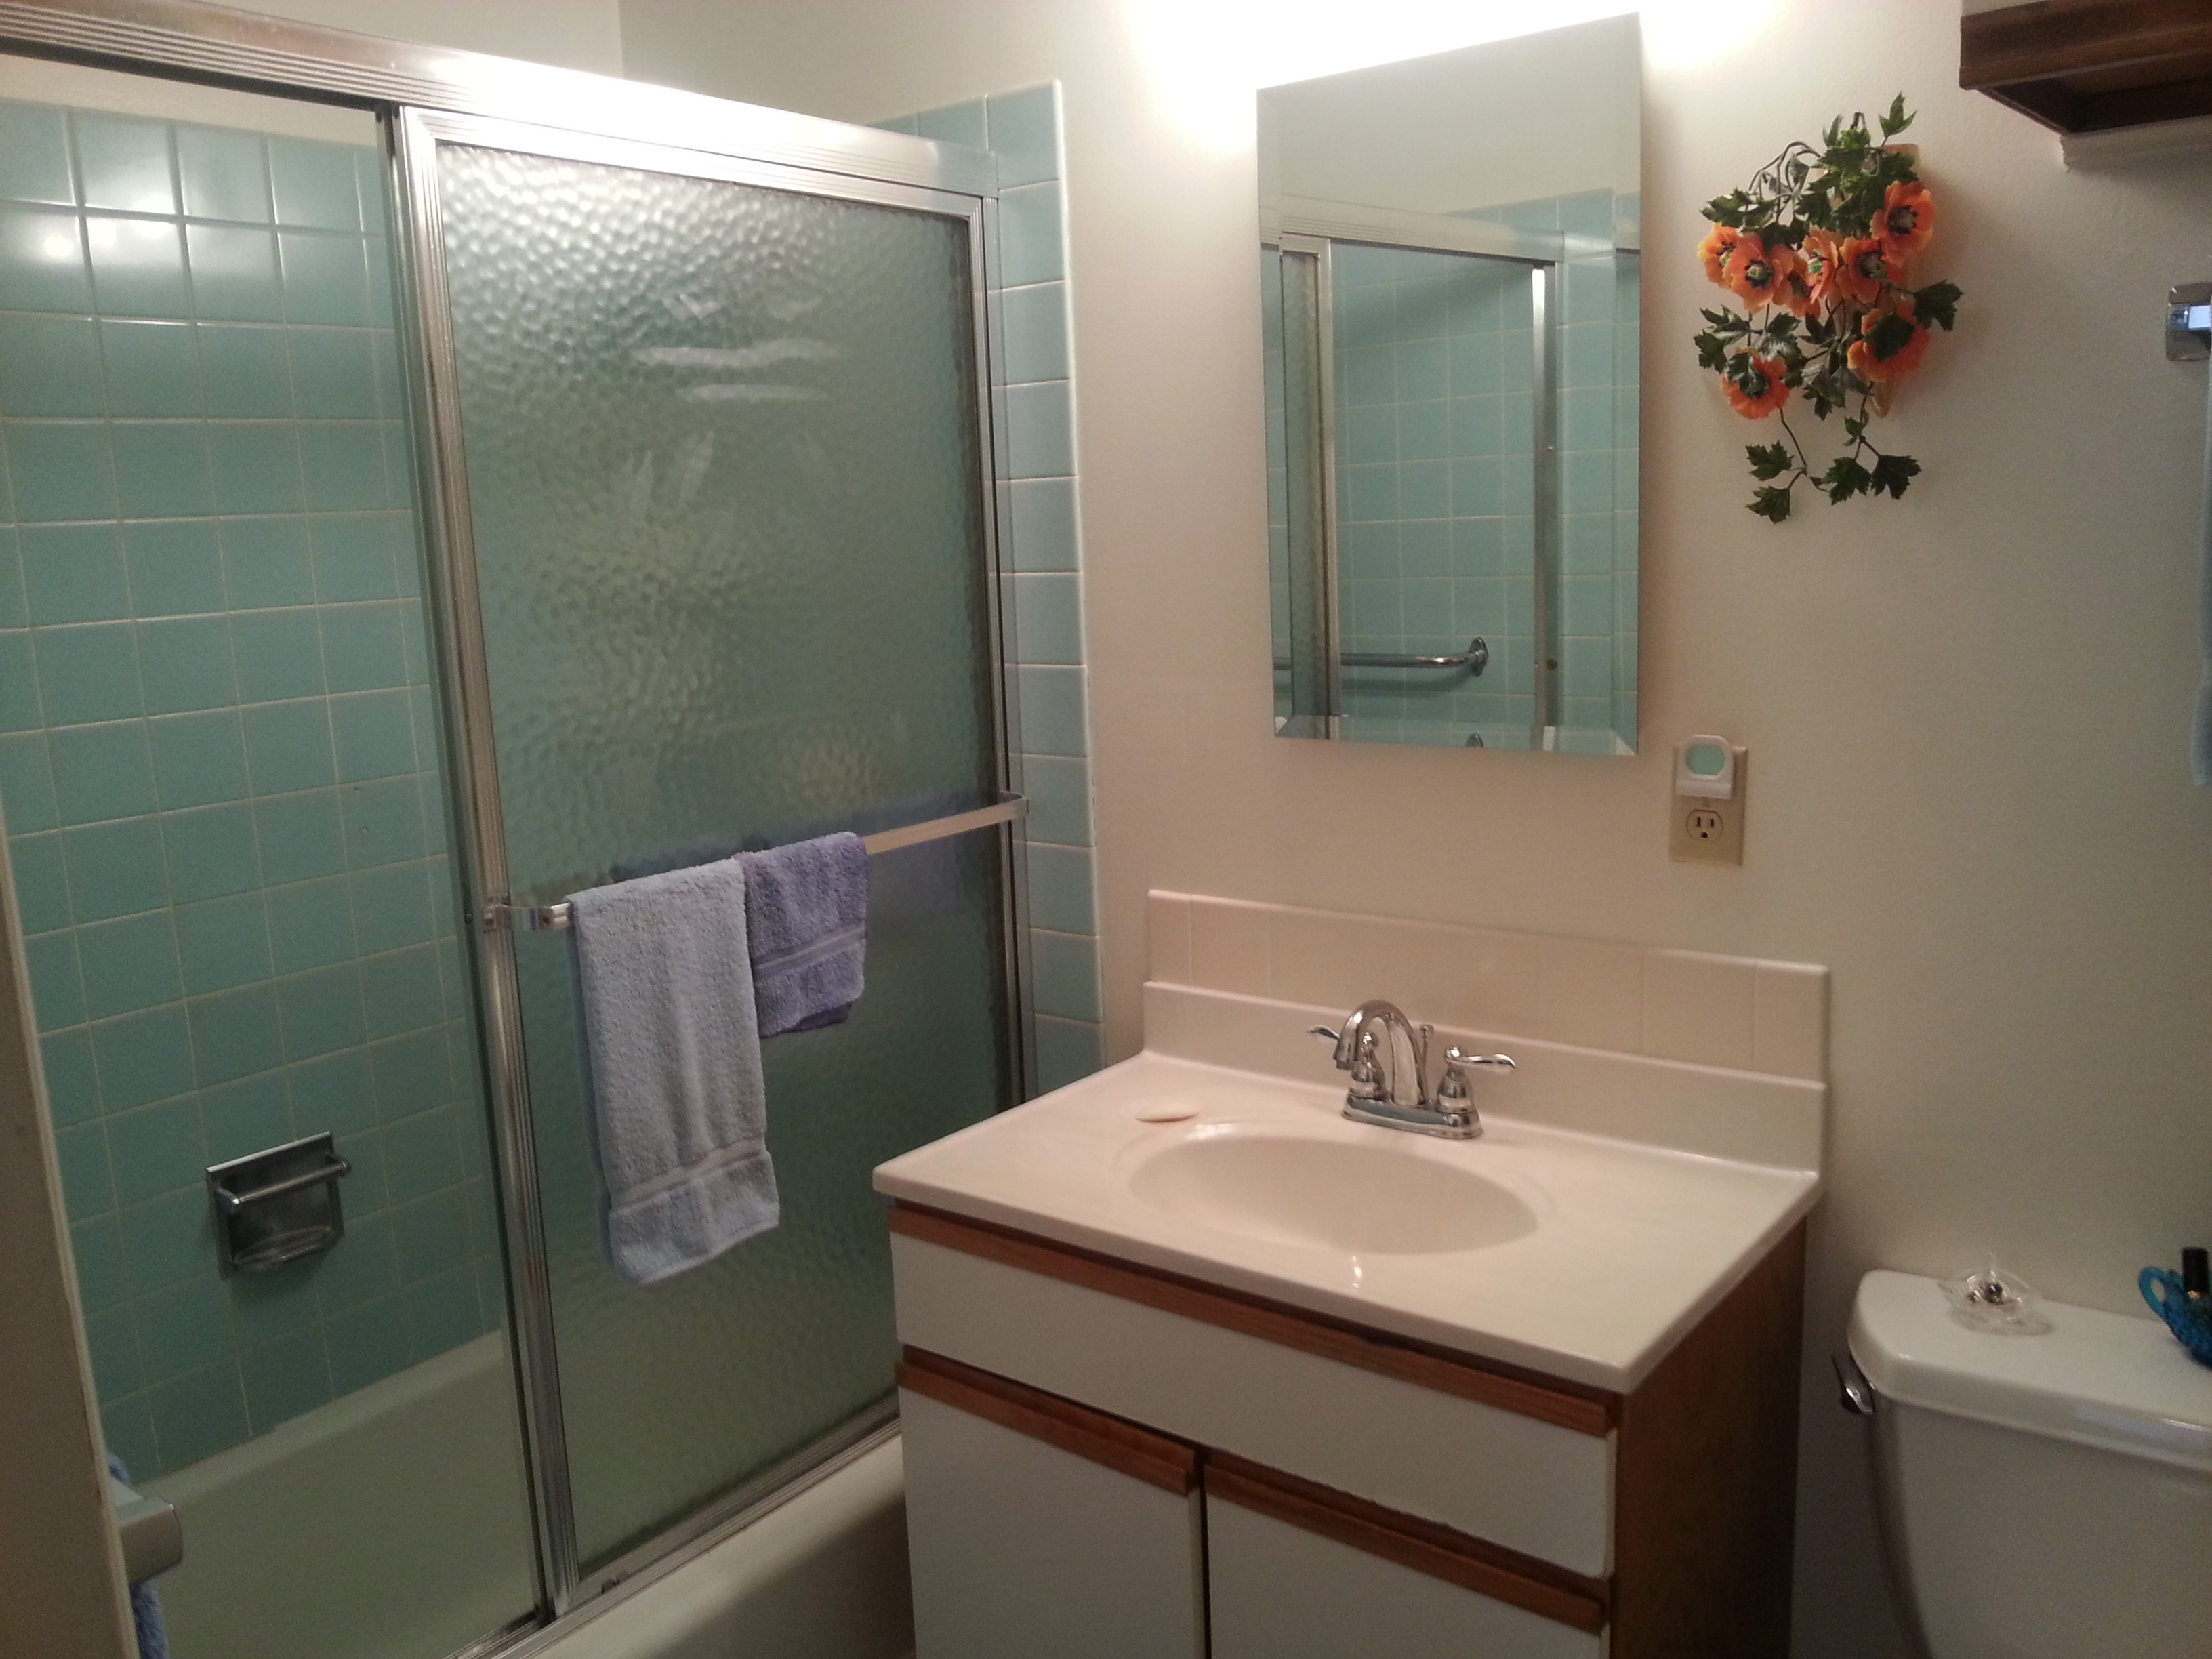
During our inspection, we were told that the particular style of shower door we had in the guest bath was no longer “to code.” There were basically made of what looks like chicken wire embedded in glass, so if you were to accidentally slip and fall into the door, it would be like “falling into a cheese grater.” Ick.
It was a relatively simple task to pull off the doors and unscrew the tracks….most of the work went into scraping the adhesive and “human cheese” (as Austin so sweetly put it) off the tub.
This has been pretty much the most wretched project we’ve tackled so far…so it was probably smart to get it done immediately. It was awful. Just imagine 30-50 years of shower crud, dead skin, and adhesive. We were in such a huge hurry to make some progress on this house that we forgot to get the camera until we started the guest bath. After some decent scrubbing, it looked like this:
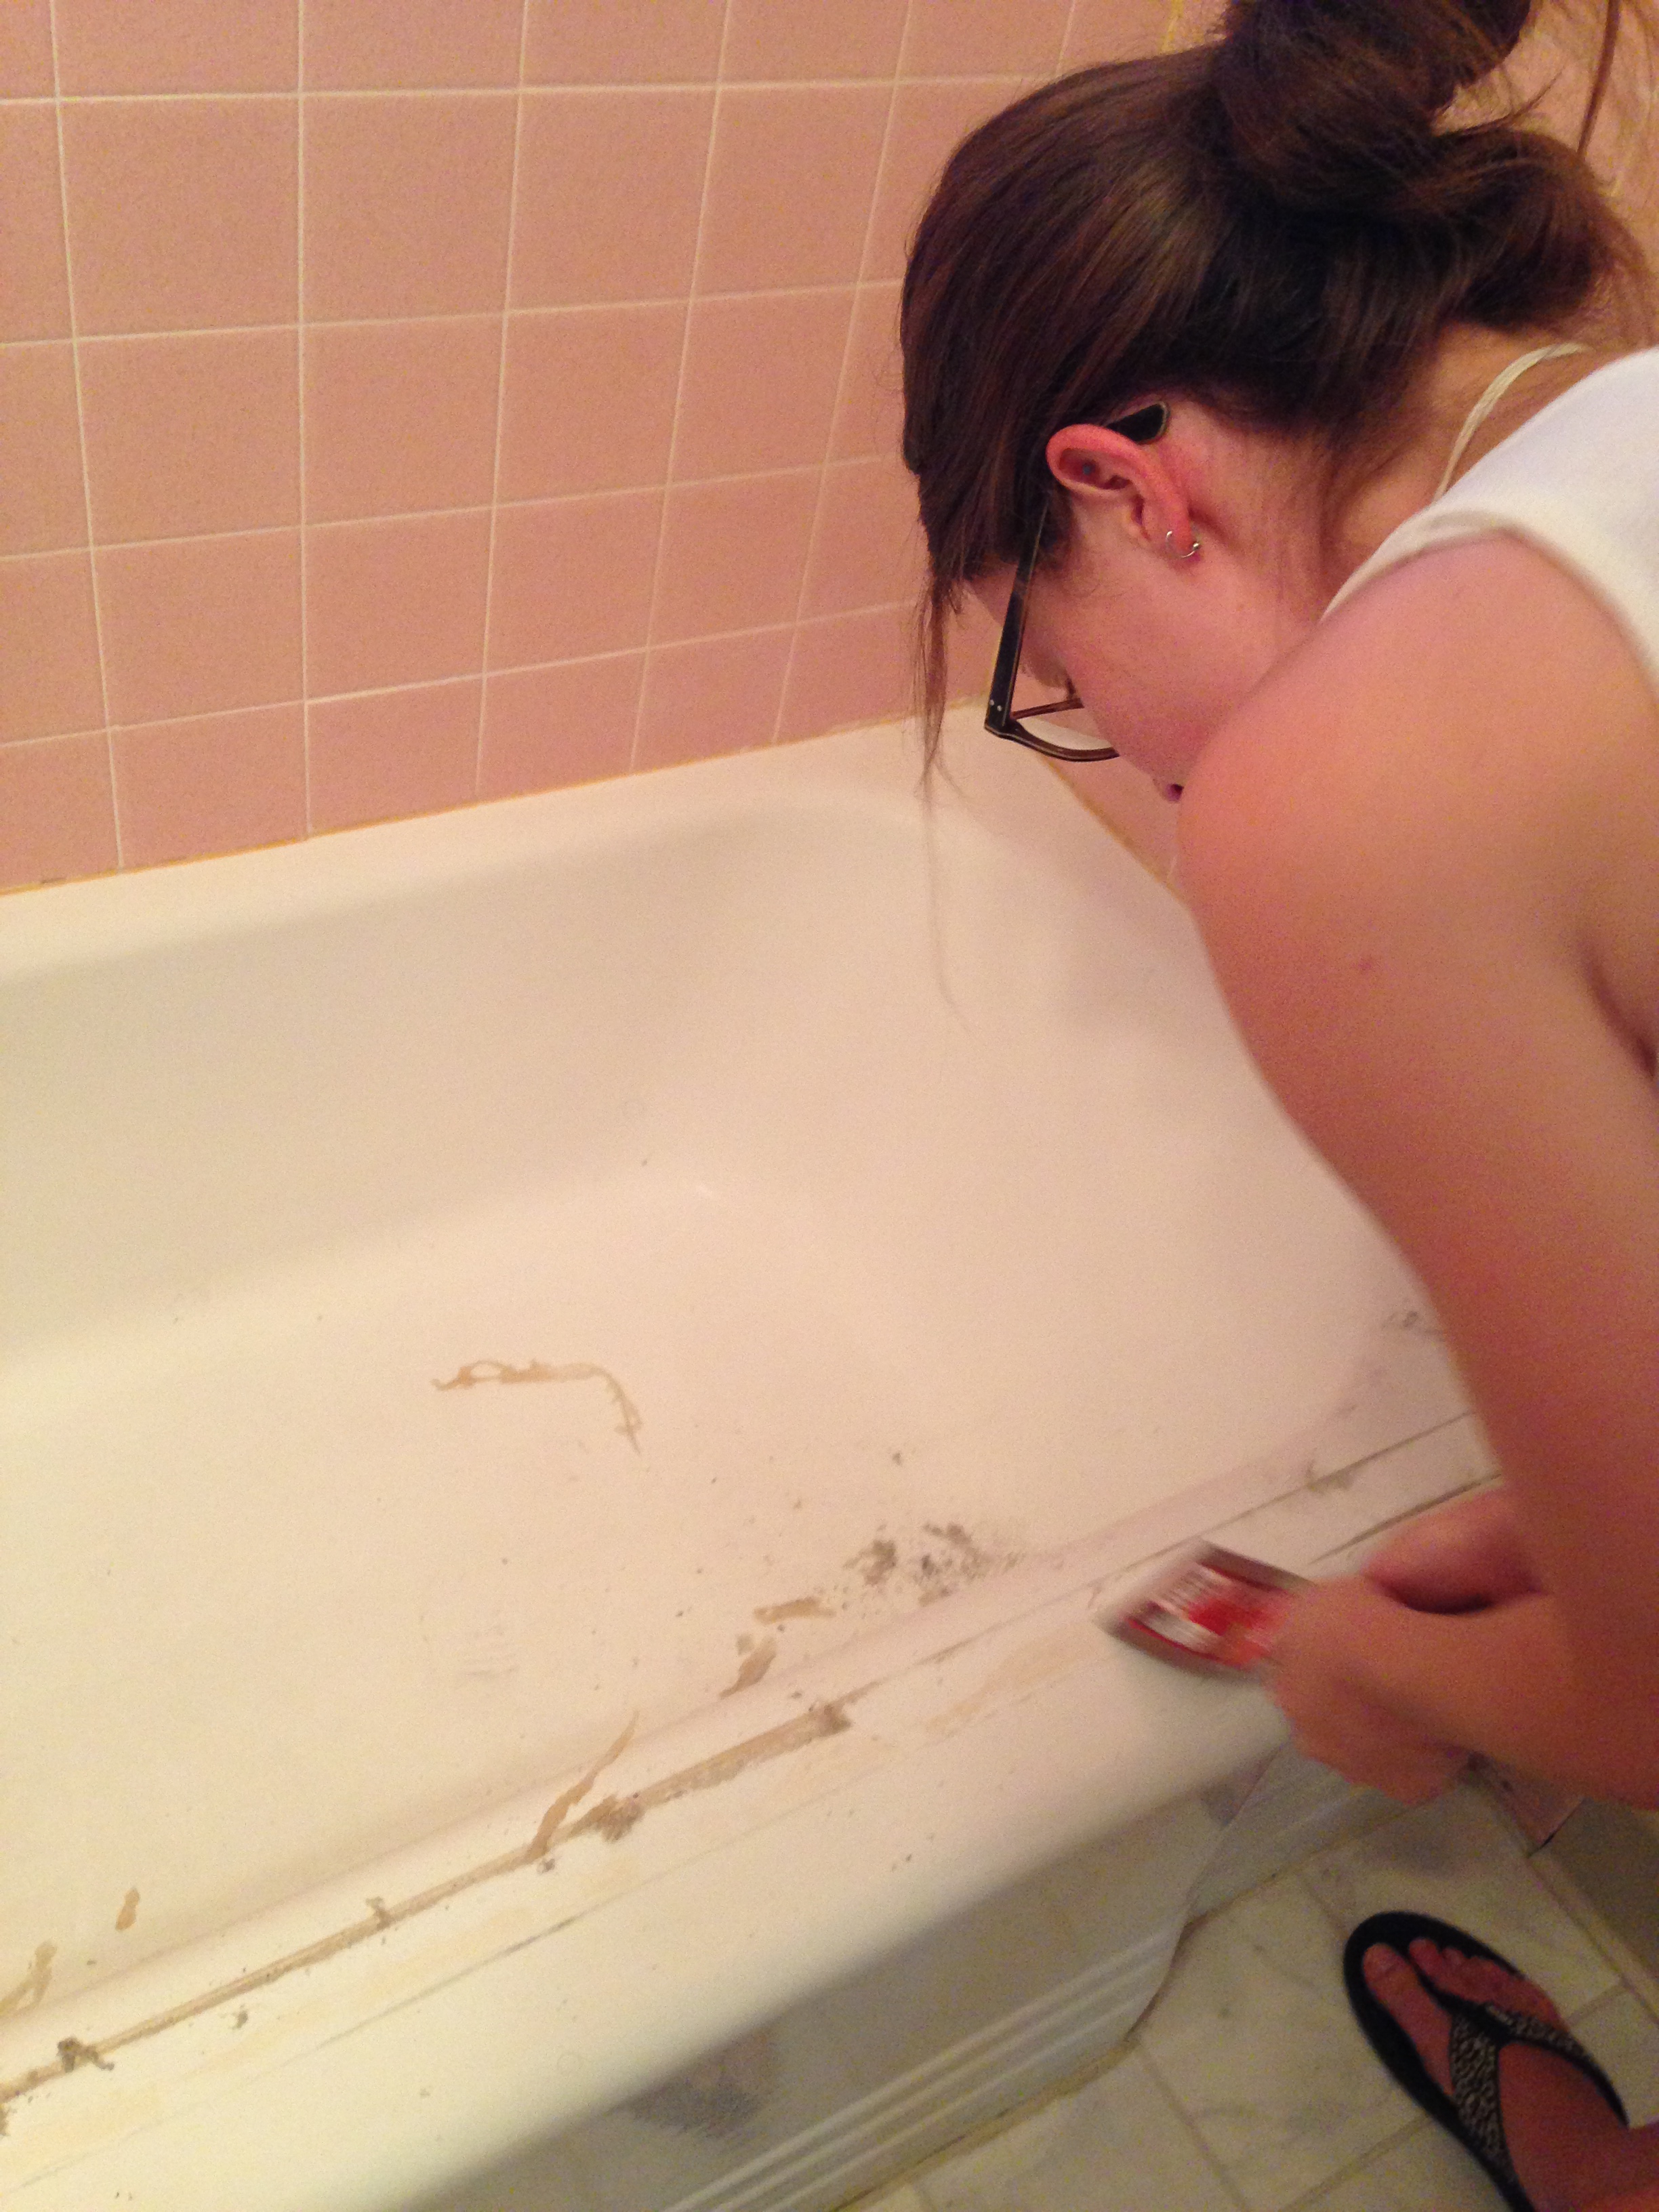
Beware the human cheese….sorry if you have a squeamish disposition.
The adhesive is all that is left. Also note, as this is the guest bathroom, it was significantly less gross than the master bath. At the end of night one, we has the bathrooms squeaky clean and were able to hang our shower curtain and clean ourselves up, too.
Step 2: fix the leaky toilet.
When we got around to accessing the crawl space for Mission: No More Laundry in the Kitchen, we noted a lovely puddle hanging out under the guest bathroom toilet pipe…..o.O
Quick fix: turn off the water supply to the toilet.
It wasn’t until we had a friend come stay at our house that the importance of the second toilet became obvious.
Full disclosure: it wasn’t until having Indian food for dinner one night…
So while Austin was out of town on a job, I ran to the blue store and picked up a “full innards” toilet kit. There are no photos of this process, but it soon became clear that the innards of this particular toilet were slowly deteriorating into a fine, gooey, black, mud-like substance. I was glad it was just me, as Austin is prone to gagging at yucky things like this…and his gagging gets to me way more than any of the actual gross stuff.
The full innards replacement process was, truthfully, not too challenging…though going it alone was rough, it was doable. And after my second trip to the store (the initial fill valve I bought was faulty) we had a perfectly functioning toilet!
Step 3: Remove necessary, but dangerous storage cabinet that seems to reach out for your head anytime you come near.
And we have no “before” photo of this puppy, but you can see the corner of it in this photo. It matched the kitchen cabinets (and the current vanity in here). It seemed like I was always hitting my head on it, and we really don’t require all that much bathroom storage.
Post removal:
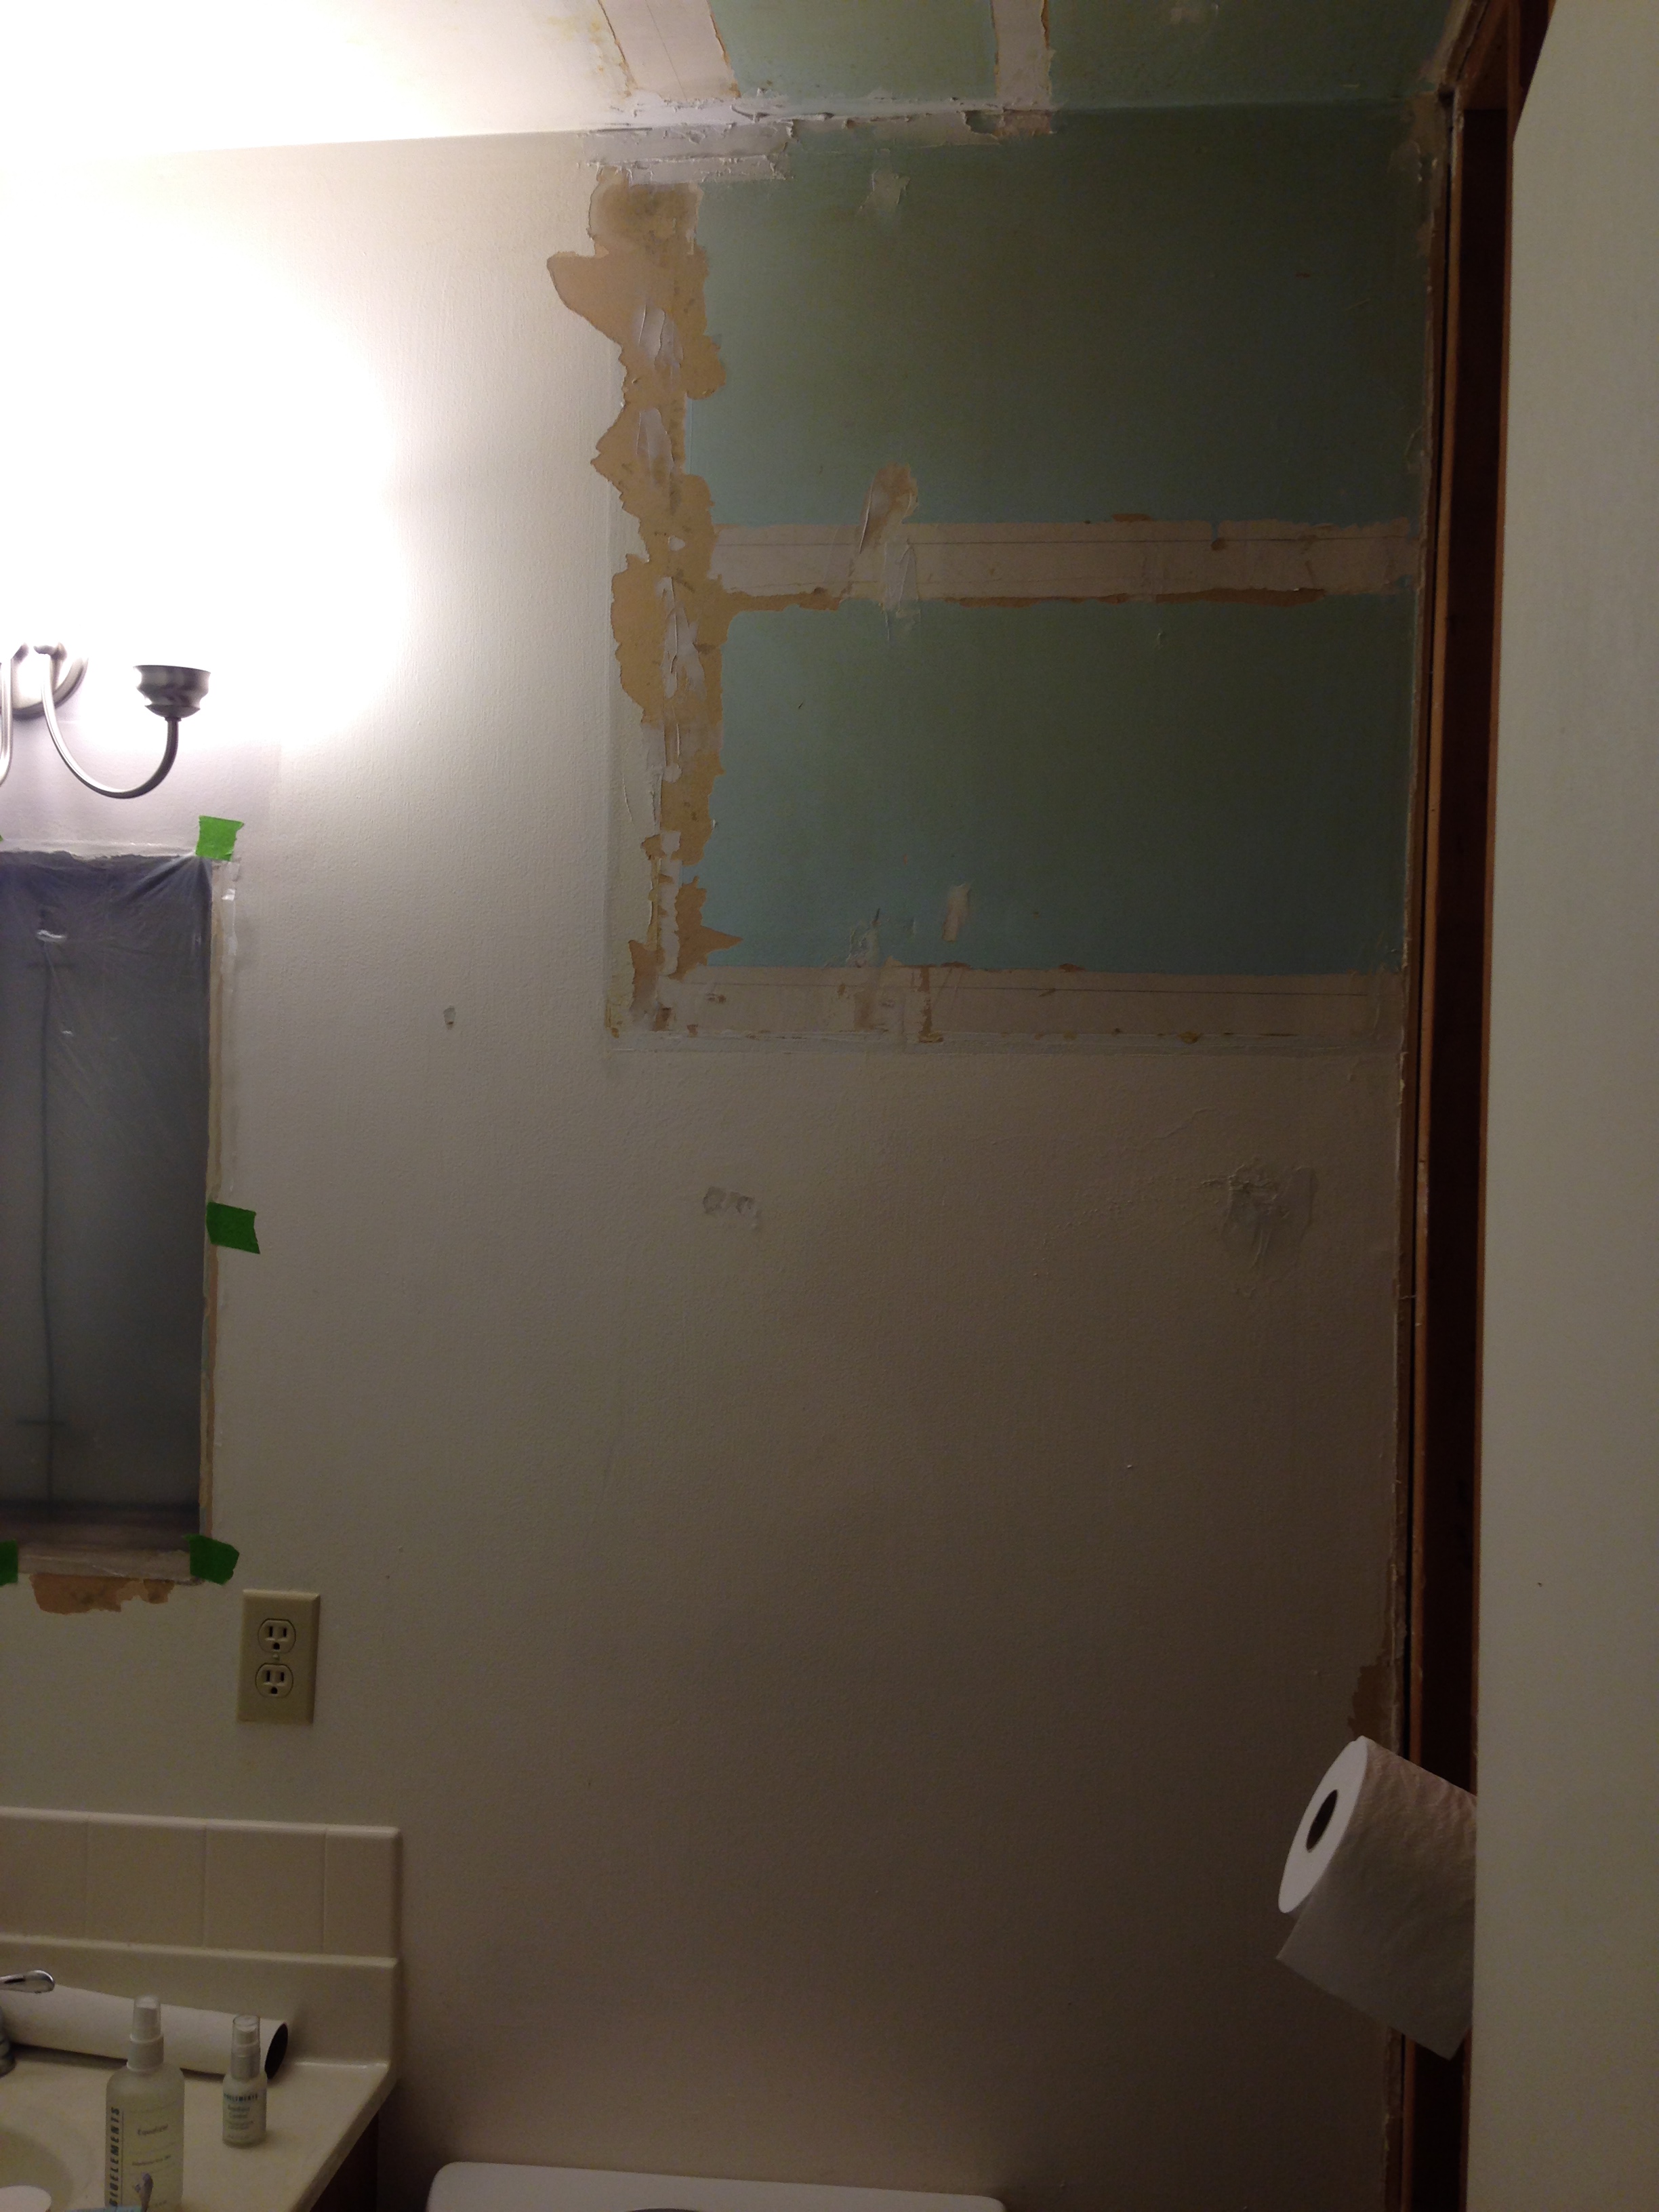
Bright side: looks like Robin’s Egg blue used to adorn the walls as well as the tile in the master bath! Oh yeah, we also replaced the light fixture in here with a cheap-o from the orange store. The previous one only took chandelier bulbs, and we try to have as many bulbs in our house be CFLs. The light fixture in our “dining” room also requires chandelier bulbs, so we chose to invest in some CFLs with a chandelier base and they don’t seem to work well. They’re constantly flickering, which may be a fault in the fixture itself, but it did not start until we changed the bulbs…mystery for another day.
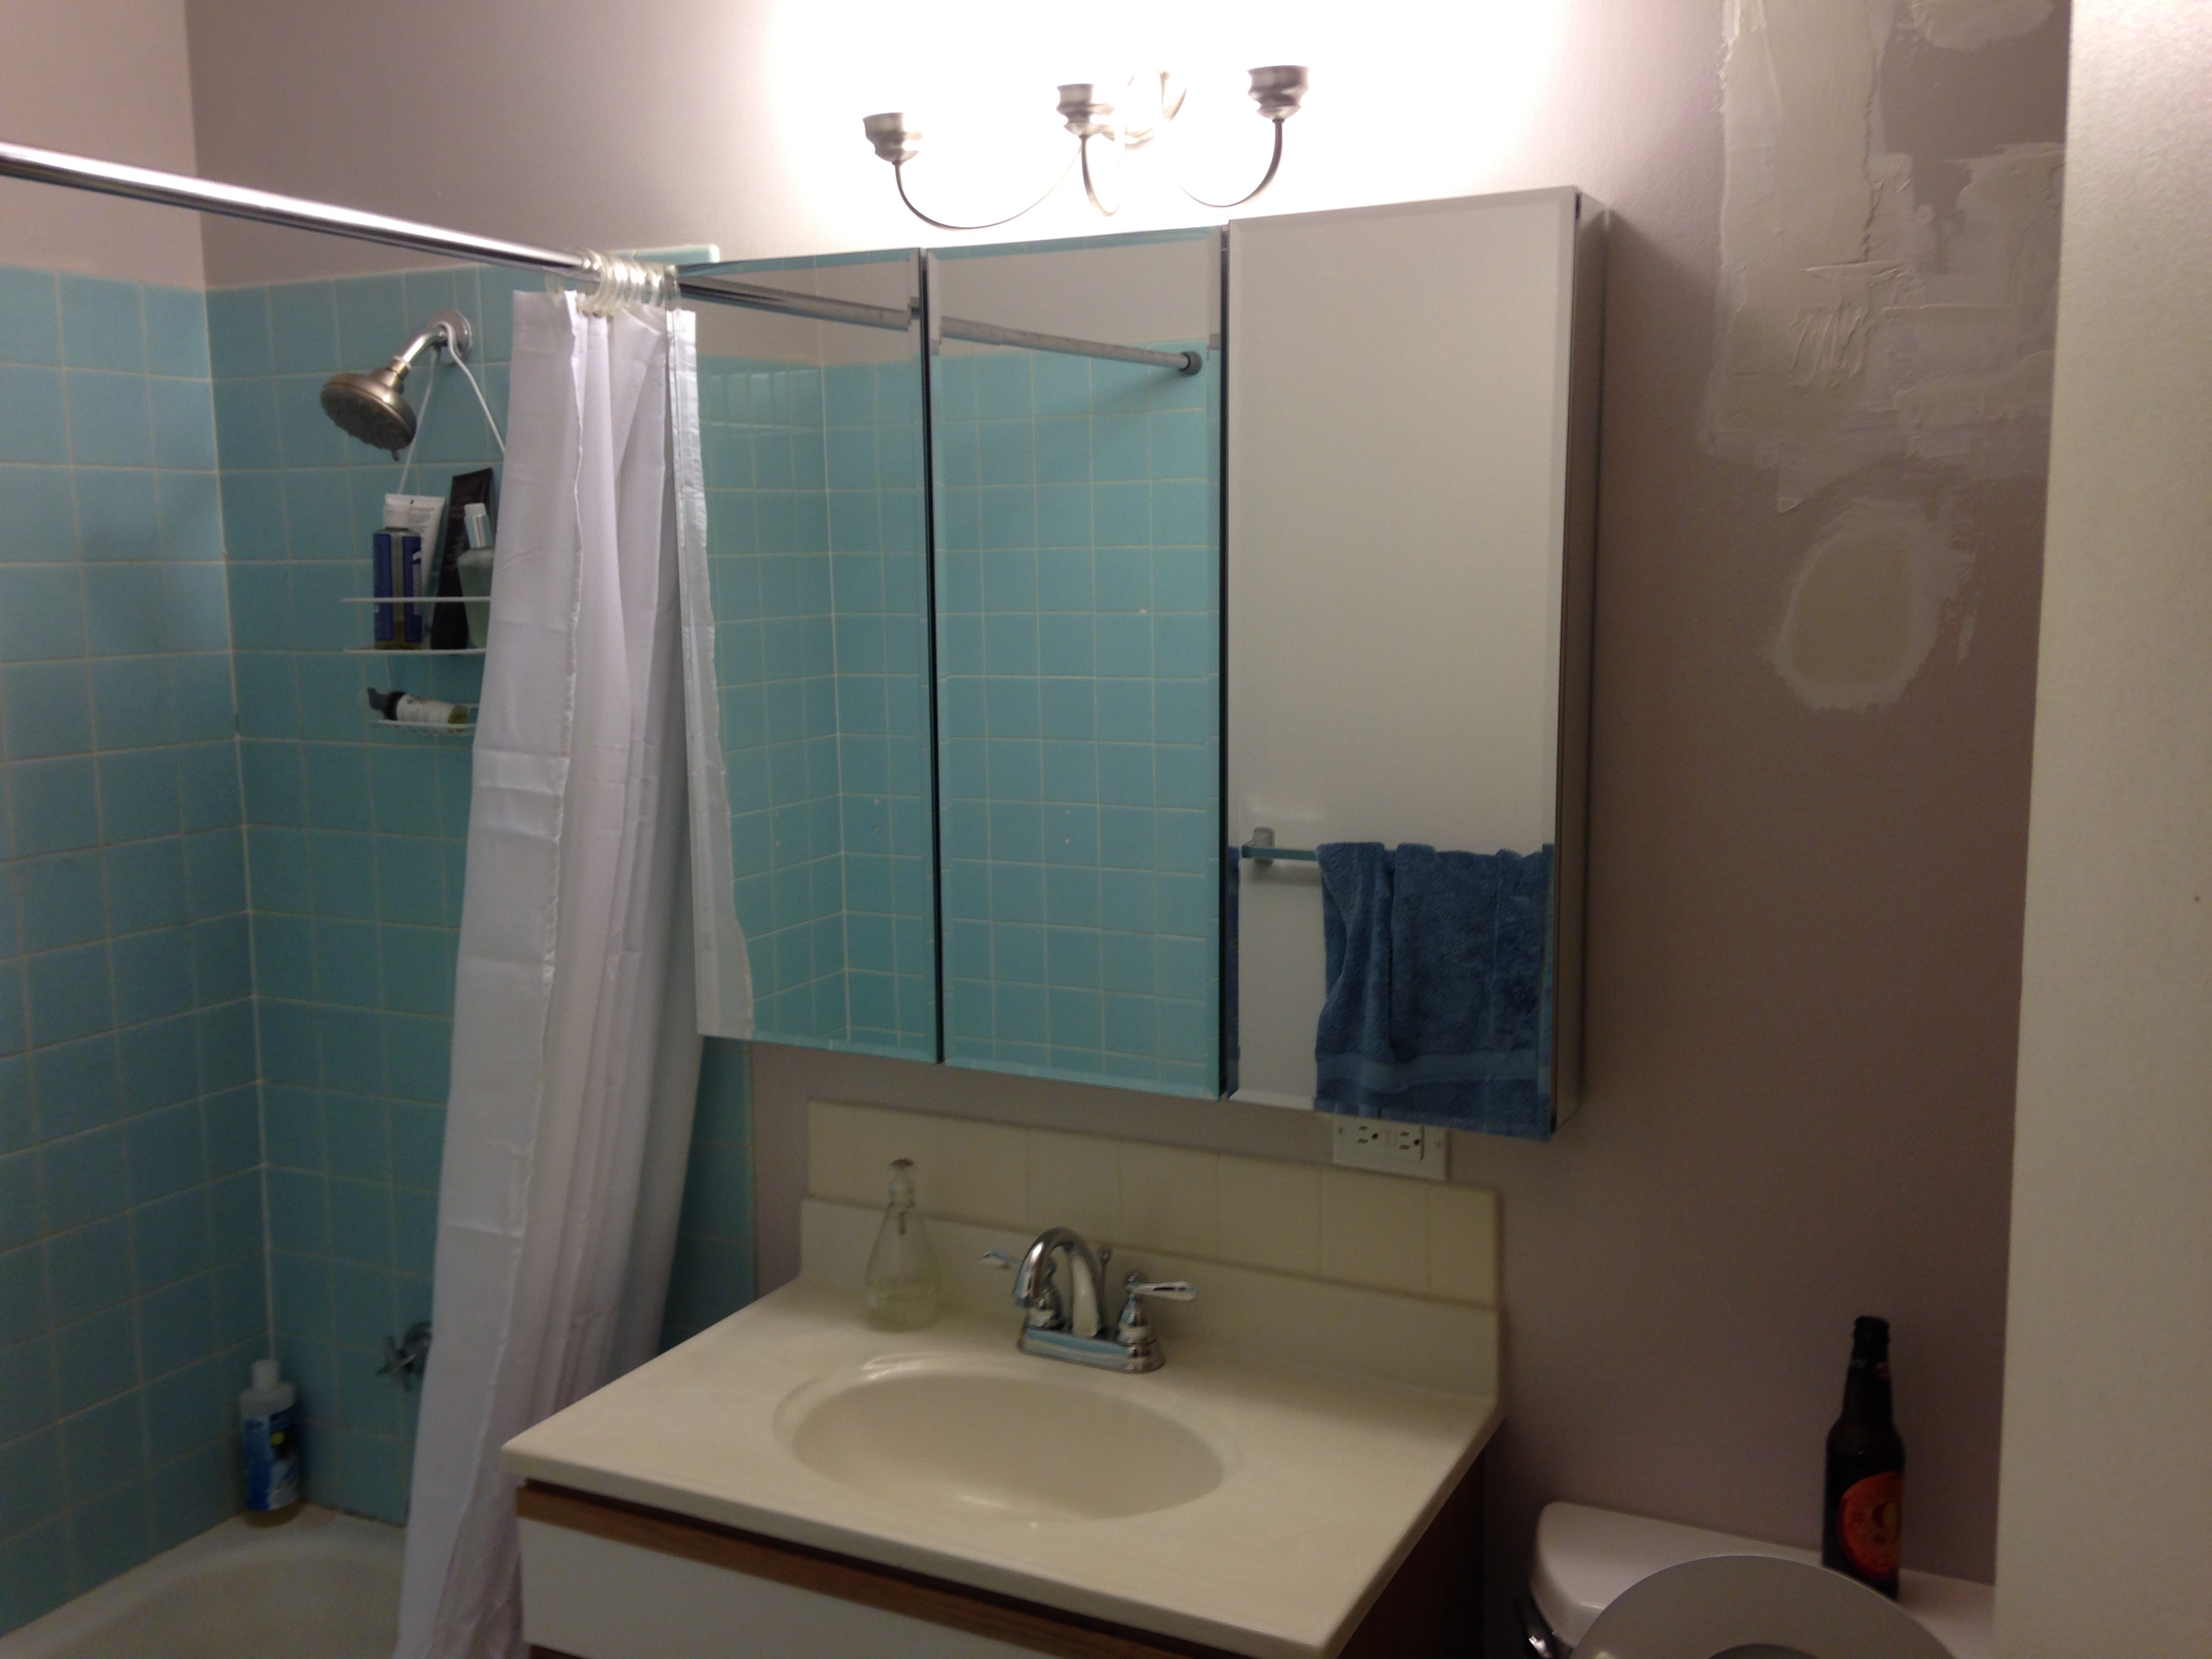
Step 4: Replace medicine cabinet with wider, tri-view cabinet.
We had these in our last rental, and I really enjoy the extra storage space, along with ability to see the back of my hair. We currently have it surface mounted to the wall, but will eventually recess it as our long term plan for the bathroom will require re-routing some plumbing in this wall (which means the drywall is coming down) so we’ll wait to frame out the support until then. You can also see here that we’ve re-painted the bathroom. It is Behr’s “Smoked Oyster” which had some lovely gray undertones that seem to get washed out in this bathroom and it looks more purple than we anticipated. We actually like the color, but with the blue tile it is not quite right. Either way, it is a significant improvement over the filthy yellowed-white walls that were in there previously.
So things are looking up in here. This room has seen a lot of improvement, but there is plenty more to be done!

Nice job(s). You’ll always have a career as a handyman/woman/person to fall back on if the physics/biology/medicine thing doesn’t pan out.